This guide explores how to edit concert photos for the best results.
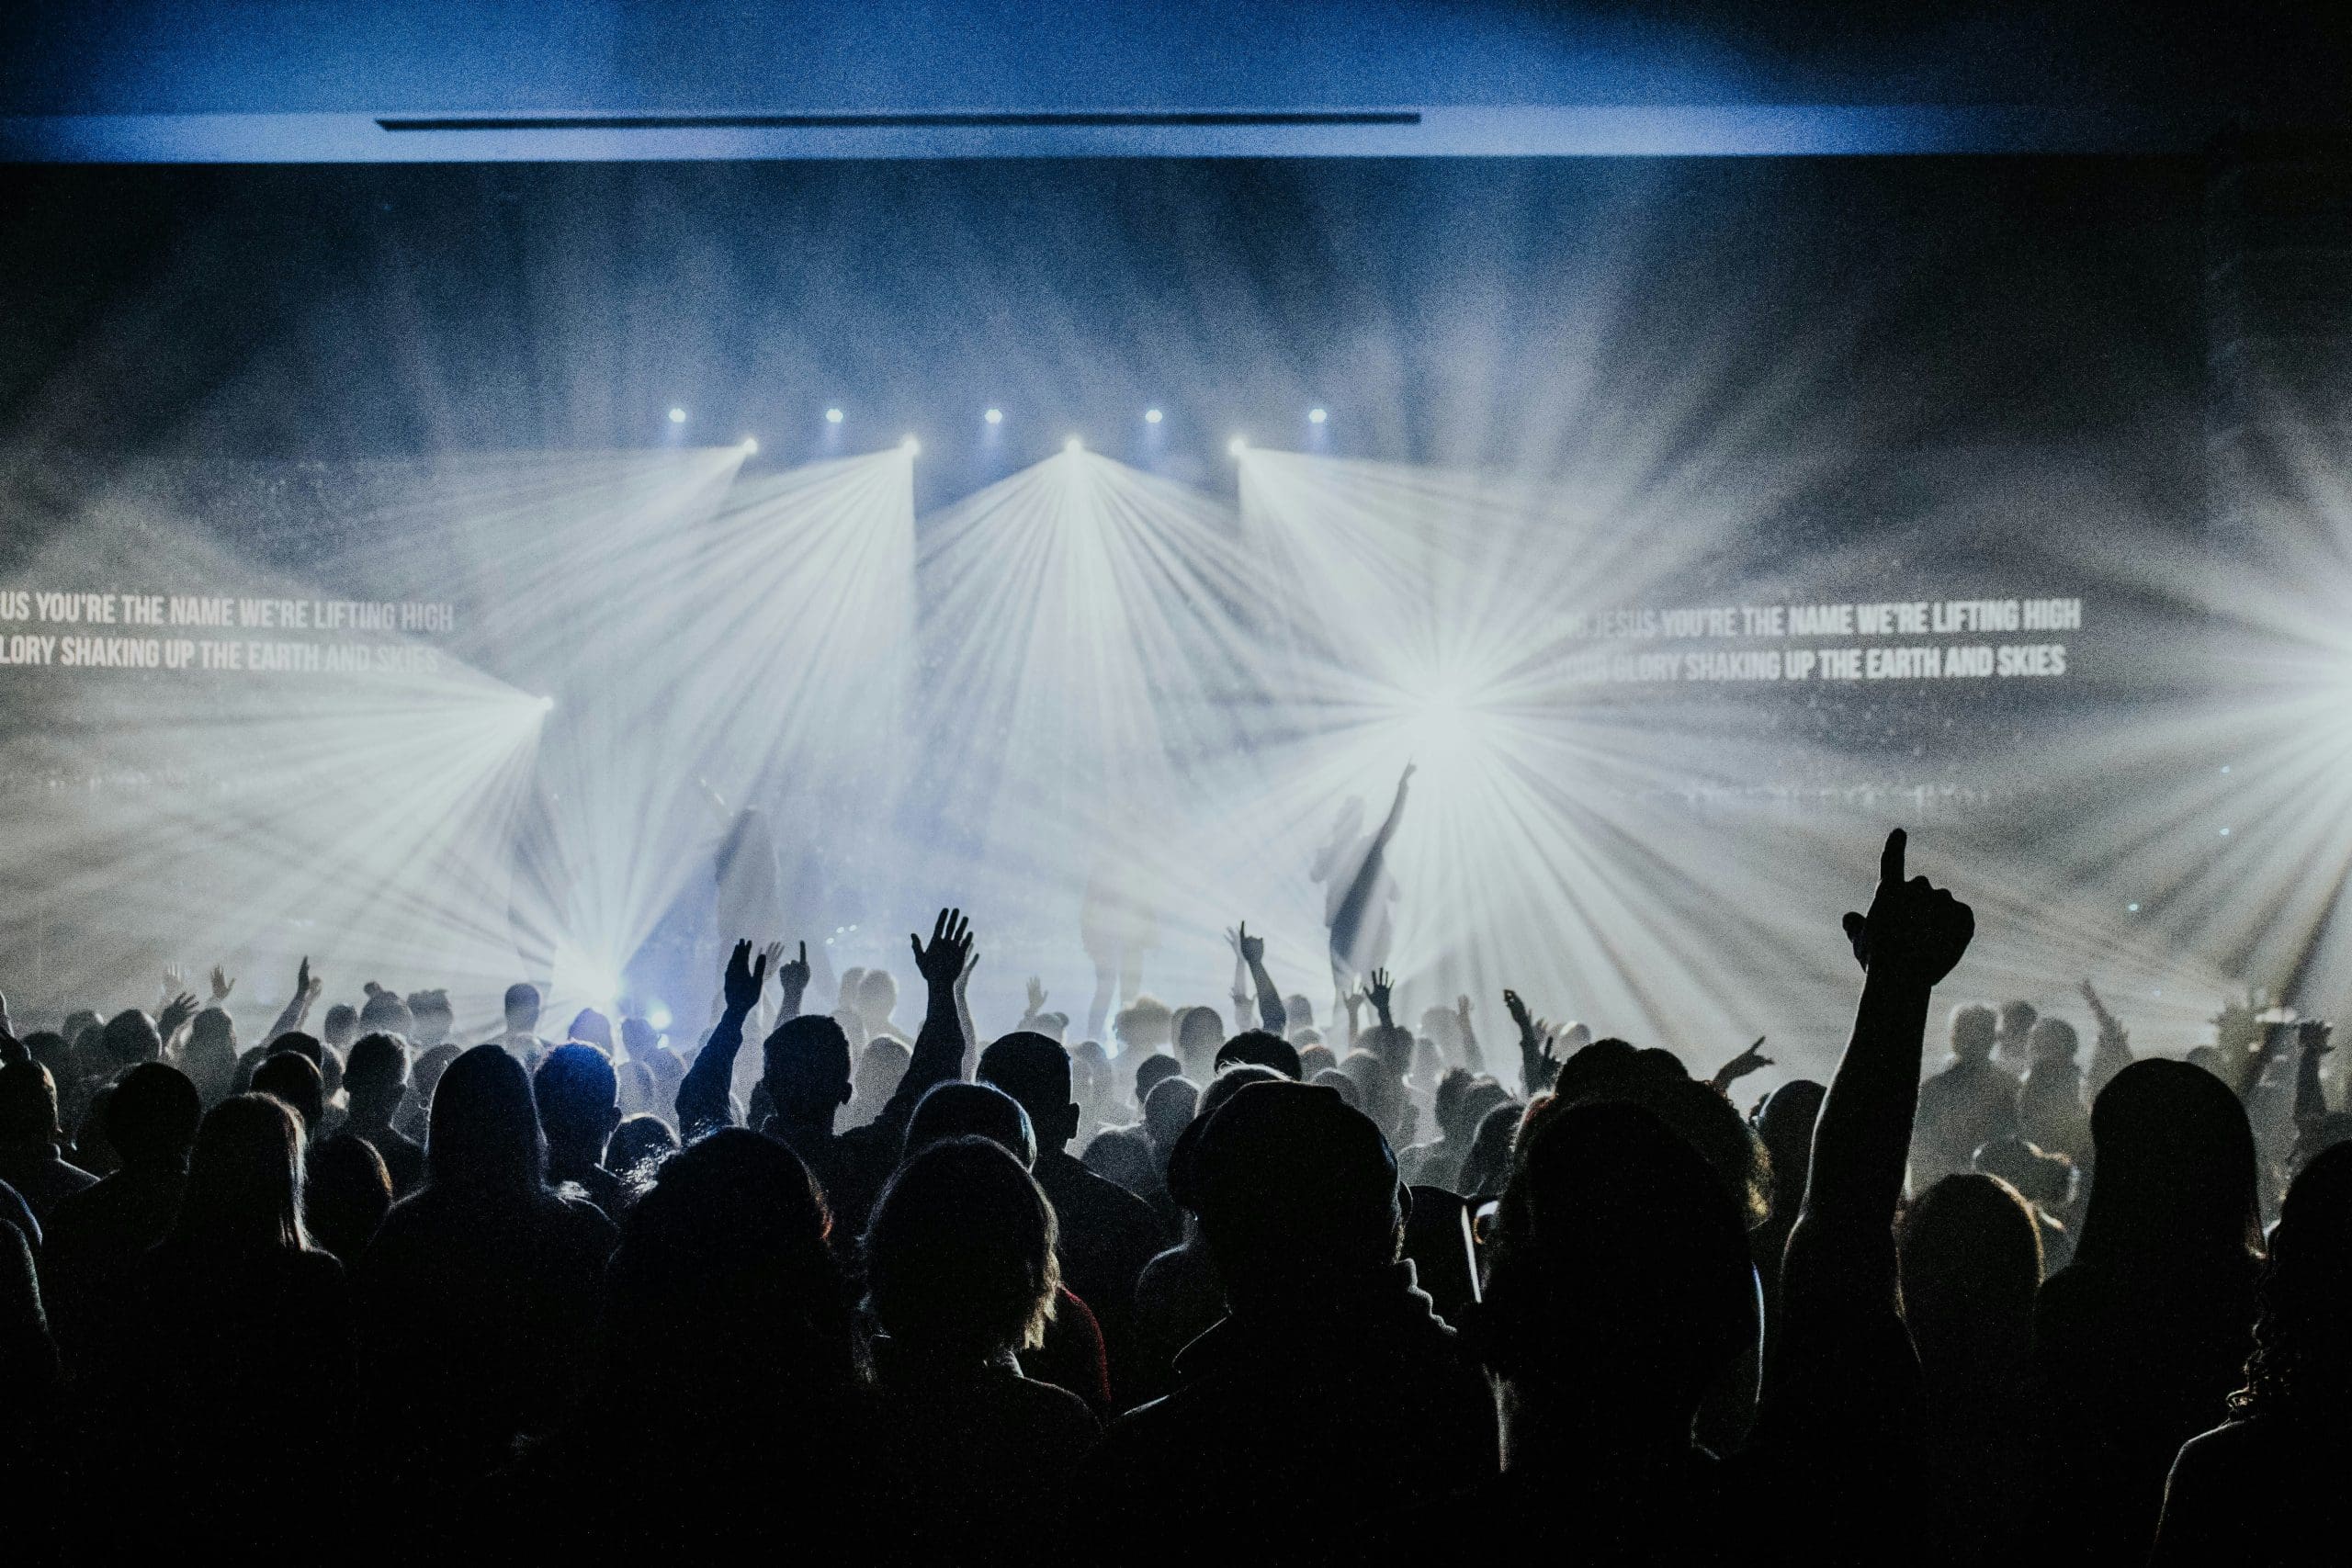
Concerts are visually rich events full of energy and excitement, making them a firm favorite among amateur and professional photographers alike.
Whether shooting with a full-frame camera or on an iPhone, the right post-processing techniques will help you capture the essence of a performance.
Let’s take a look at some steps for editing photos from concerts that will help you create a stunning final image.
What’s the Best Software to Use for Editing Concert Photos?
There are many excellent programs a concert photographer can use when editing photos, whether using full-frame camera bodies or smartphones.
Adobe Lightroom delivers industry-standard post-processing tools that allow users to adjust images across a large selection of parameters.
Affordable Lightroom alternatives that don’t require an ongoing subscription include Affinity Photo and Capture One, which offer many similar tools.
Alternatively, software such as Luminar Neo uses AI tools to quickly make adjustments, smoothing out skin tones and other aspects of your images.
If you’re using your phone, you can edit concert photography on PicLab, Snapseed, and Afterlight, the latter of which includes features dedicated to serious photographers.
How Do I Choose the Best Concert Photos to Edit?
With so much activity to shoot throughout the duration of a concert, it’s likely you’ll land at your desk with hundreds of shots to choose from.
Sorting through this material can be a painstaking process as you filter out those with the best composition, lighting, and details that reflect the highlights of the event.
It can sometimes pay to ask for advice from friends or fellow photographers to help you choose images, particularly if they attended the concert with you.
There are also several artificial intelligence-based tools that are specifically designed to sift through photos and suggest the best ones, such as Aftershoot and Narrative.
These dedicated photo-culling programs check a variety of image assessment indicators, analyzing the focus and other parameters to create a handy shortlist.
How to Edit Concert Photos in Lightroom CC
The most popular program used by professionals to edit photographs is Adobe’s Lightroom, which delivers a broader suite of tools than its rivals.
Here’s how you can use Lightroom CC to edit your concert photography using a range of tools to control everything from exposure to specific elements of the image.
Step 1. Lens correction and cropping
The Crop tool in Lightroom can be used to refine your compositions, particularly if you shoot your photos with a wide angle lens.
Before you begin creatively editing your concert photographs, you should first adjust the lens correction to address any optical issues.
You can do this via the Lens Correction panel in the Develop Module, selecting Enable Profile Corrections and matching the lens used to shoot the image.
Next, if there are unwanted elements in the frame or you want to emphasize something of interest, you can crop the image to create a more balanced composition.
Bear in mind that the aspect ratio may change, and the “As Shot” and “8×10” settings are commonly used for printing images.
How Much Do You REALLY Know About Photography?! 🤔
Test your photography knowledge with this quick quiz!
See how much you really know about photography…

Step 2. Exposure
Since the light conditions in a concert environment are constantly changing, you may need to tweak your photo’s exposure in Lightroom.
The raw format allows you to add additional detail or compensate for overexposure, reducing washed-out highlights and whites.
You can apply these changes to the entire image and make further adjustments to specific details later in the editing process.
Step 3. Color correction and white balance
With multiple sources of stage lighting often entering the frame in concert photography, the white balance is continually adjusting from one image to the next.
If you’re not happy with the in-camera results, you can make subtle adjustments in Lightroom using the temperature and tint sliders.
For photographs that feature multiple colors, consider switching to black and white or applying color correction to specific areas using a mask.
Setting your camera’s white balance to Auto will also help your shots maintain a more accurate color scheme despite changing light conditions.
Step 4. Using tone curves

One of the most versatile and creatively inspiring tools in Lightroom for concert photo editing is the Tone Curves.
Tone curves, which have a great deal of creative potential, can be used for a more nuanced approach to altering the colors of your concert photography.
As with applying color correction across the entire image, using tone curves is often a process of trial and error, making smaller adjustments to the sliders and judging the impact.
They’re a great way to emphasize a particular color in the image, particularly when one color is dominating the frame.
Tone curve adjustments can also be combined with alterations to the contrast levels to bring out details in the shadows and highlights for a more dramatic effect.
If you’re new to photo editing, spend time learning how to read a histogram, and you can further control tone curves by introducing additional nodes.
Step 5. Split toning
Once you’re happy with the adjustments you’ve made using the tone curves, you can then fine-tune to enhance the image’s mood and atmosphere further.
Split toning in Lightroom is altered via a separate panel, which allows you to change the hue and saturation of the highlights and shadows.
It also includes a Balance slider, which controls the level of toning between the highlights and shadows, although you don’t need to use both.
Split toning is another excellent tool for experimentation and identifying colors within the frame that you want to bring to the fore.
The eyedropper tool can also help you quickly select colors that you want to adjust, whether in the shadows or the highlights.
Step 6. Make local adjustments

Using masks in Lightroom allows you to make local adjustments, for example by focusing on a band’s lead singer.
If you feel specific areas of the image need to be addressed individually, you can use Lightroom to select them and make local adjustments.
Lightroom features an impressive mask system. It allows you to apply radial or brush masks to control edits on specific areas of the photograph.
This could be singling out a guitar or other instrument to play with the colors and vibrancy or enhancing the lighting on the lead singer.
You can also use feathering on the mask selection to blend your adjustments into the surrounding area effectively for a more pleasing result.
Step 7. Experiment with black and white

Converting your photo to black and white can create more striking results with greater contrast and deeper shadows.
Many professional photographers working in the music industry choose black-and-white for concert photography.
The work of iconic photographer Anton Corbijn is a fine example of this approach, with high-contrast images rich in atmosphere and expressive details.
If you’re struggling to get satisfactory results from an otherwise well-composed, interesting shot, experimenting with black and white could salvage the image.
While you can set the raw file to black and white at the beginning of your processing workflow, the saturation sliders can also be used for this aesthetic.
For more control, try using the Black and White Mix Panel in the Develop Module, using this to play around with the image’s contrast.
How to Edit Concert Photos on iPhone or Android
Concert photography shot on smartphones such as the iPhone or various Android devices can still be edited to achieve excellent results.
Here are a few simple steps for improving your phone’s original image using the popular free photo editing app Snapseed.
Step 1. Adjust perspective and crop

While the crop tool is standard in photo editing apps, Snapseed includes a nice selection of presets for different aspect ratios.
Like most photo editing software, Snapseed allows users to alter and correct the image’s perspective during the editing process.
You can also use it to crop the image and create a tighter composition, cutting out any irrelevant background details in the process.
Step 2. Tune the image

Snapseed’s Tune Image option brings up a range of parameters, including contrast, brightness, and ambience.
Snapseed’s Tune Image tool delivers the core editing tools for improving images, such as Brightness, Contrast, Saturation, and Ambience.
This tool can also be used to change the Ambience of your concert photographs and fine-tune the shadows and highlights to create more texture and depth.
Step 3. White balance
If you’re not happy with the color temperature, use the White Balance tool in Snapseed to adjust it to your liking and alter the image’s tint.
Don’t be afraid to play around with the extremes of these settings and see what radically different lighting they can bring to your composition.
Step 4. Curves

Using Snapseed’s Curves tool allows you to experiment with a range of color parameters for a more vibrant overall image.
Snapseed’s Curves tool has a range of applications, from an overall curve adjustment method to the option to select from RGB colors and Luminance.
There is also a selection of Curve presets you can try, including Neutral, Soft and Hard Contrast, Brighten, and Faded.
Step 5. Tonal contrast
Once you’ve altered the overall curves to your liking, you can refine the image further using the Tonal Contrast tool in Snapseed.
In addition to adjusting the High, Medium, and Low Tones, Snapseed also includes a slider bar you can move to protect highlights and shadows.
Step 6. Try black and white

Like Lightroom, Snapseed also allows you to convert your image to black and white for more dramatic and moody results.
If you’re not satisfied with the editing results of your full-color image, you can switch to the black-and-white tool and experiment with the settings.
Snapseed features a nice selection of black-and-white presets, including Contrast, Bright and Dark, Film, and Darken Sky.
You can also manually adjust the brightness, contrast, and grain using the slider interface, further enhancing the film look of your image.
Where to Get Concert Photography Presets (Free & Paid)
One of the many advantages of editing photographs with Adobe Lightroom is the large amount of presets that can be integrated into the program.
This extends to presets dedicated to concert photography, in addition to other presets that are highly applicable to this subject matter.
You can pick up the Concert Pro Lightroom Presets from Creative Fabrica for free and add dreamy tones for a professional look.
If you have a budget, Matty Vogel’s series of concert presets helps you manage your image parameters and can be purchased as a 53-preset collection bundle.
Flourish Presents, The Luxe Lens, and Wilde Presets all sell affordable presets, and Adobe’s site also offers many free and paid options to explore.
FAQs About Editing Concert Photos
How do professional photographers edit their concert pictures?
Professional photographers use a range of post-processing techniques for concert photography, from white balance adjustments and exposure to fine-tuning through curves.
They will also frequently use layer masks to make additional local adjustments, editing faces and other features independently of overall adjustments.
How do I remove distractions and blemishes from concert photos?
In addition to using tools such as the Clone tool in Photoshop, there are many great programs that utilize artificial intelligence to smooth skin tones and remove distractions.
Photoshop’s AI-powered replacement tool can help with unwanted elements, while plugins such as Retouch4me offer dedicated processes for improving faces and clothing.
Are concert photos best in color or black and white?
There’s no firm rule about whether to use color or black and white when editing concert photography; it depends largely on the shot in question.
Black-and-white concert photography images can add drama to the shot through high contrast and help alleviate grain when shooting in high ISO settings.
How can I make my iPhone pictures look better at concerts?
Shooting concert photographs with iPhones can get excellent results, with HDR, night, and concert modes all helping to improve the images.
Try to avoid using the phone’s zoom function, which can result in blurry images, and experiment with a low aperture combined with a fast shutter speed.
How do I edit festival photos?
When it comes to festivals, you can often shoot an additional layer of material, from the crowds to funfair rides and other attractions.
You can edit these following the steps outlined above, refining your editing over time through this trial-and-error process.
What photo mode is best for concerts?
If the concert venue is dimly lit, you’ll want to set a low aperture and fast shutter speed to capture the action without losing focus on the performers.
You can gain additional leeway by increasing the ISO without compromising image quality, setting the drive mode to continuous shooting, and enabling autofocus.
Professional concert photographers often shoot in manual mode for full control, capturing raw images for a complete editing process.
Credit : Source Post


