If you want to showcase your home-cooked food with photos that look professional, here are some tips that will help you out.
Home cooking can be an act of love into which you put your time and passion. However, this may not always translate into the photos you make of your dishes.
So, if you want to elevate your photos and match your food photography skills to your home cooking skills, this article is for you.
How to Make Your Home-Cooked Food Photos Look Pro?
Tip 1 – Prepare
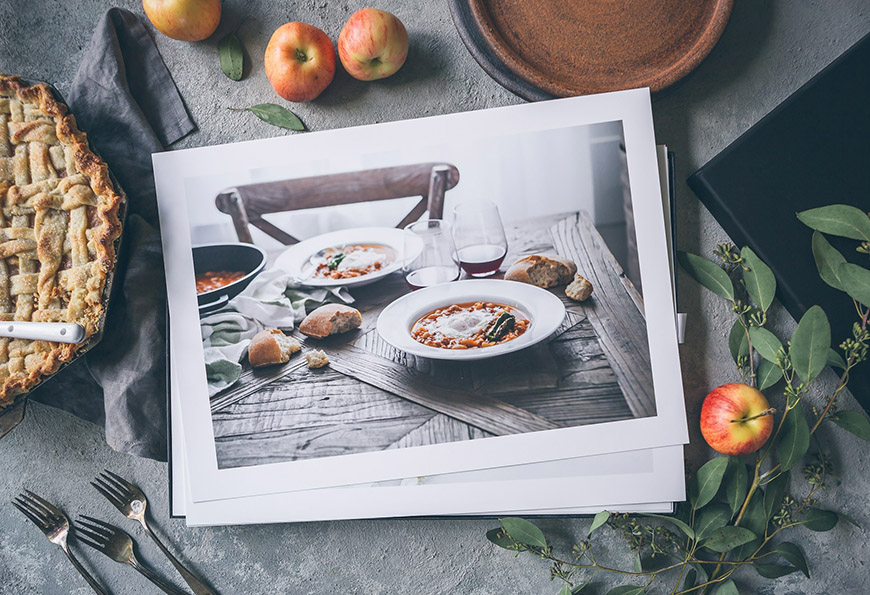
Credit: Anna Shvets
Professional food photos don’t just happen – there’s a lot of planning and prepping before the photoshoot. Things usually start with a concept, followed by a mood board, and there’s a whole team working on polishing the idea and bringing it to life.
I’m not saying you have to go through all that, but you should plan your shoot before cooking and photographing. This will allow you to understand what you’ll need to make your dish look its best.
To help you prepare, use the next six tips as a checklist for your photoshoot.
Tip 2 – Take control of the settings

Credit: Bossi Studio
While you may get perfectly exposed photos using your camera in auto mode, this won’t help you achieve professional-looking results. Plus, if the lighting is challenging, you won’t get the exposure right.
So, if you want your home-cooked food photos to look pro, you must take control of the settings. If possible, use manual mode, which allows you to decide all the camera settings.
If you don’t feel comfortable with that, use one of the semi-automatic modes.
When something in the scene is moving – for example, if you’re dusting icing sugar on a cake – use the shutter speed priority mode.
Meanwhile, use aperture priority mode if you want to control the depth of field to highlight an element with selective focus.
Tip 3 – Use light for storytelling
Some people think that professional photographers use flashes and strobes while amateurs use a simple window light for their photos. You can use one or the other as long as you know how to use it to your advantage.
If you choose to use artificial light, you need to know how to create different atmospheres. For example, it’s not the same to light a dish for a summer brunch as it is for a romantic dinner.
The same goes for natural light. You should understand how light changes throughout the day and how to modify it to better light your scene.
Of course, the mood isn’t just about the lighting; you also need to work on the styling, but we’ll talk about that more below.
Tip 4 – Mind the aesthetics

Credit: Brooke Lark
“We eat first with our eyes.” — Apicius.
A regular chef doesn’t necessarily prepare the food you see in professional photography. In many cases, a professional figure called a food stylist makes sure the dish looks particularly “yummy.”
So, whenever you prepare a home-cooked meal that you want to photograph, you need to pay special attention to the aesthetic. It starts with simple things such as cutting ingredients the same size and extends to some elaborate tips and tricks you can use to make a dish more photography-worthy.
It used to be common to use non-edible things to make food look better on camera – for example, replacing maple syrup with motor oil. However, this trend is less used nowadays.
This doesn’t mean there aren’t perfectly acceptable tricks, such as using mashed potatoes to fake ice cream. Remember that this isn’t possible if you take photos for a food brand.
[quiz-cat id=”186923″]

Credit: Toa Heftiba
Food styling isn’t just about preparing the dishes for the camera – it’s also about choosing the right background and props.
Everything that’s in your photograph needs to fit with the ambiance and the idea behind the photo. You have to consider the color palette but also the style.
You don’t need to spend a lot of money on props; it’s possible to buy them second-hand, rent them, or even make them yourself. The ingredients from the dish make excellent props, too. You can check Shotkit’s dedicated article on food photography props to get more ideas.
Once you have the props, you should arrange them inside the frame with composition rules. The easiest way to organize your scene is by shooting tethered – some programs, such as Capture One, even allow you to use composition overlays.
Tip 5 – Mind the composition

Credit: Roman Odinstov
Speaking of composition, you should also consider the angle of the camera. Most people tend to photograph things from their perspective: they pull up the camera to their eyes and shoot.
However, it’s important that you explore different viewpoints to find the one that better highlights the particularity of your dish.
For example, a piece of cake might look better from the side so you can see the layers and the filling, but an entire cake may look better from the top so you can see the decoration.
So, consider how much depth you want in your scene – do you want to showcase the entire table or the kitchen in the back? Also, think about what you want to highlight – is there a detail on top, or do you want to show the bottom of the plate?
Sometimes, you think of a certain perspective, but while you’re shooting, you find one that’s more interesting. So, move around and try different things.

Credit: Eaters Collective
Another thing to consider is that you don’t need to fit everything in the frame. Many people are afraid to crop elements – especially the main ones.
However, if you browse a cookbook, a magazine, or your favorite food photographer’s website, you’ll notice they often crop the dishes.
Of course, you need to learn where to crop to still have a pleasing result and not have it look like an accident. In portraits, there’s a very specific rule of where to crop and what to avoid – unfortunately, there isn’t such a guide in food photography.
However, with a bit of practice and paying attention to what professionals are doing, you’ll learn how to make aesthetic crops soon enough.
Tip 6 – Try lifestyle food photos

Credit: Askar Abayev
Food is often linked to emotions and traditions. An excellent way to convey this is by including a person in the picture.
So, remember that food photography is not just about the food.
Try including a person preparing the dish, serving it, or sharing it with others. It may add that extra touch that makes your picture unique.
Tip 7 – Edit and retouch
Last but not least, you should always edit your photographs. This may refer to minor edits, such as light and color adjustments, but it may also be about retouching.
Not all pancakes are perfectly round, and not all crumbs fall into the perfect place. While it’s important to do most of the work at the photo shoot, things may escape your eye or your control.
You may also need to use special techniques such as focus stacking because achieving complete focus in a single shot is impossible.
In short, professional photographers often work in conjunction with a professional retoucher.
So, please don’t consider it cheating; editing is an essential part of digital photography.
Credit : Source Post


